我们可以在同一台机器上配置集群,也可以在同一网段内的不同机器上配置集群。这里以同一台机器上配置集群为例:

使用Domain Configuration Wizard进行配置
创建新的Domain
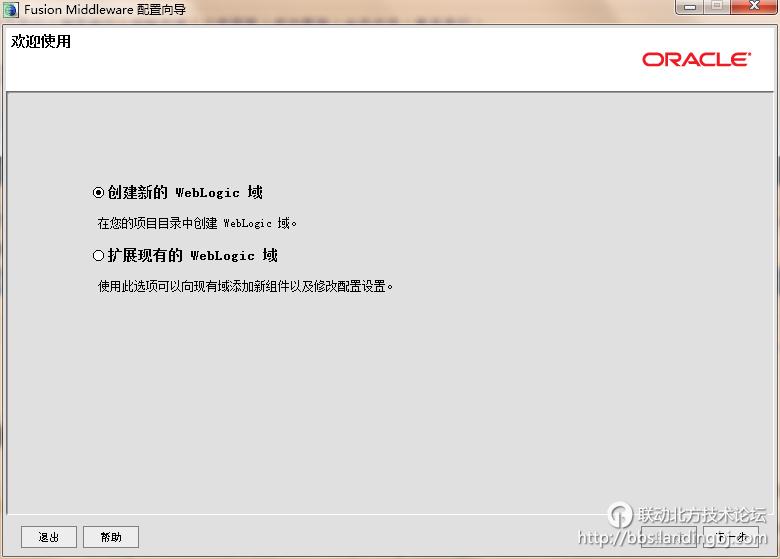
1)选择“创建新的 WebLogic域”,单击“Next”按钮
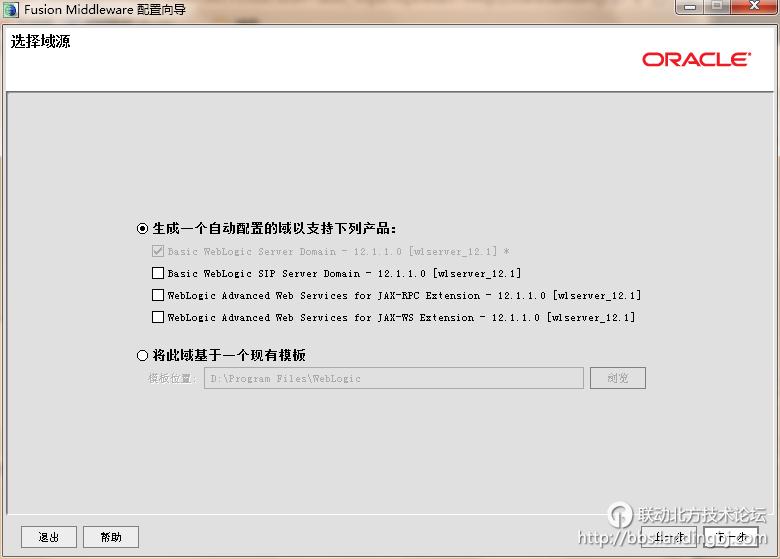
2)保持默认,下一步
3) 按实际填写域名,下一步

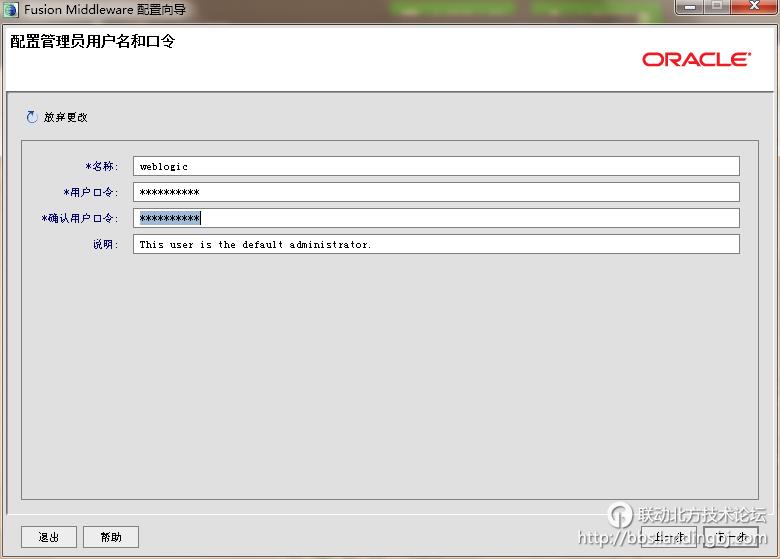
4) 填写管理服务器的用户名和密码
5) 选择”开发模式“,可以选择更改jdk

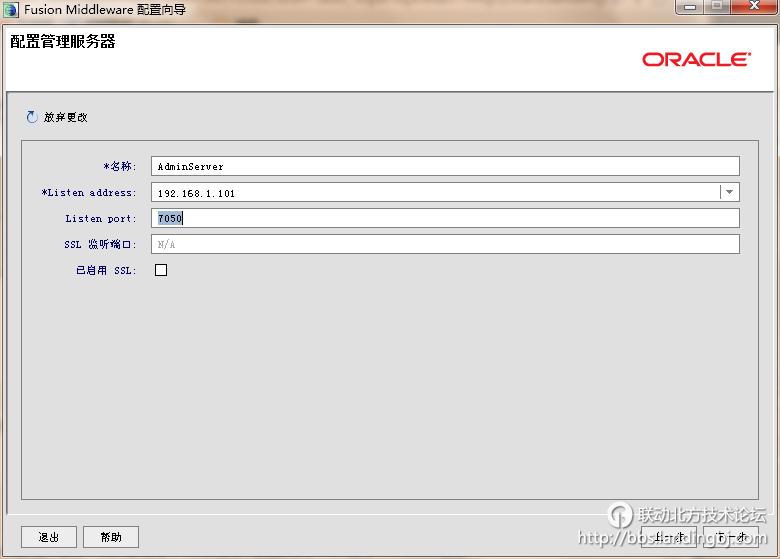
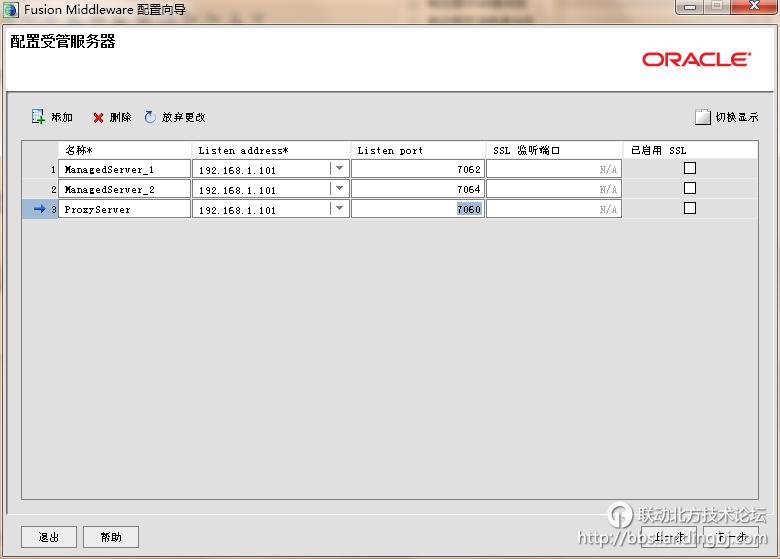
6)选择”管理服务器“,”受管服务器……“

7)
8)
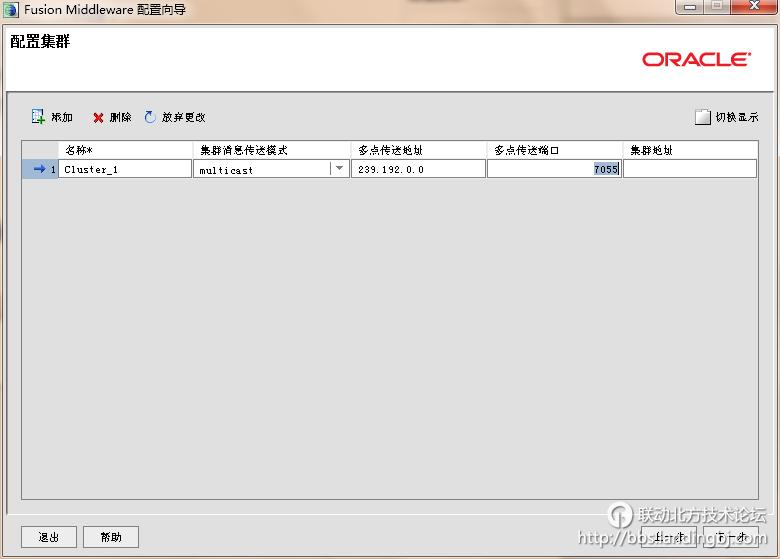
9)当用Configuration Wizard 创建集群时,您只能选择multicast,虽然官方文档推荐新建集群时使用unicast 消息机制;若选择unicast,您只能在Administration Console 中修改集群的配置,参考Oracle Fusion Middleware Oracle WebLogic Server Administration Console 帮助文档中的:"Create and configure clusters". 提示: multicast address 的IP 范围必须位于224.0.0.0 到 239.255.255.255 之间.WebLogic Server 使用的multicast 默认值为 239.192.0.0. 您可以使用此范围内的任意ip和端口号
10)
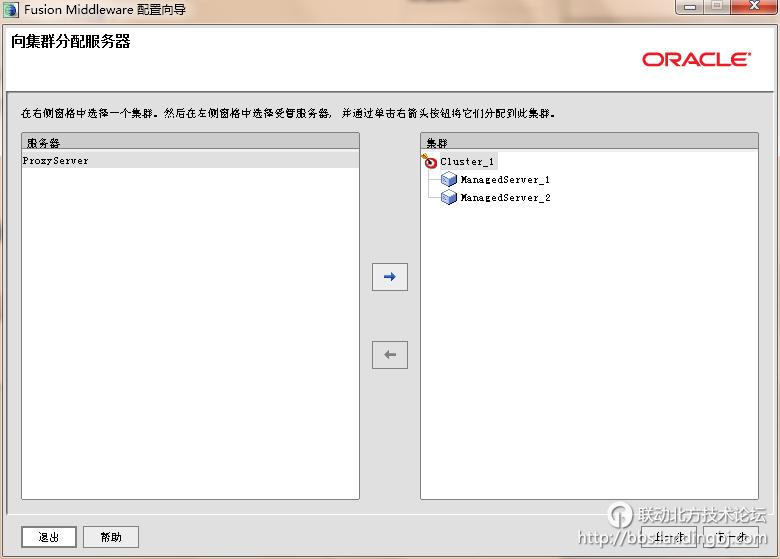
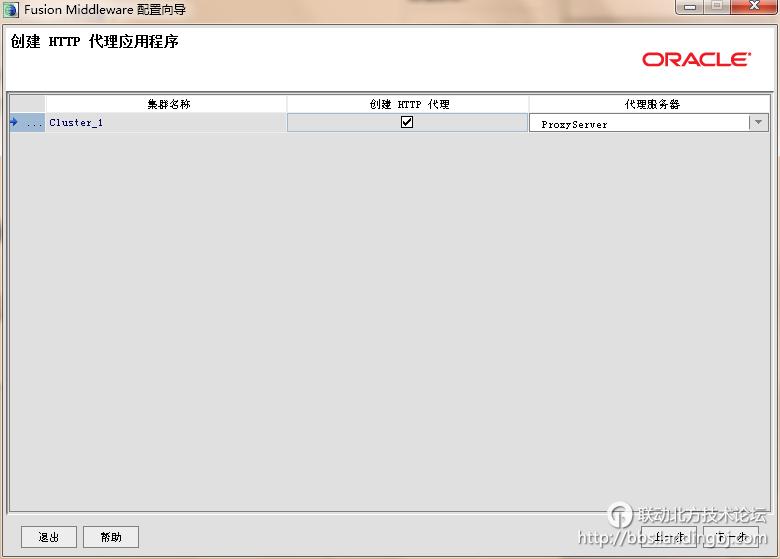
11)配置集群,选择代理服务器
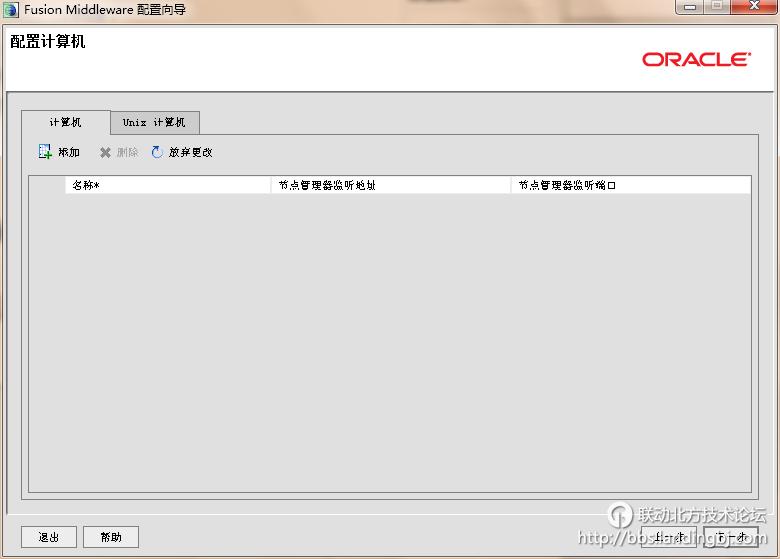
12)这里暂时不配置Machine了
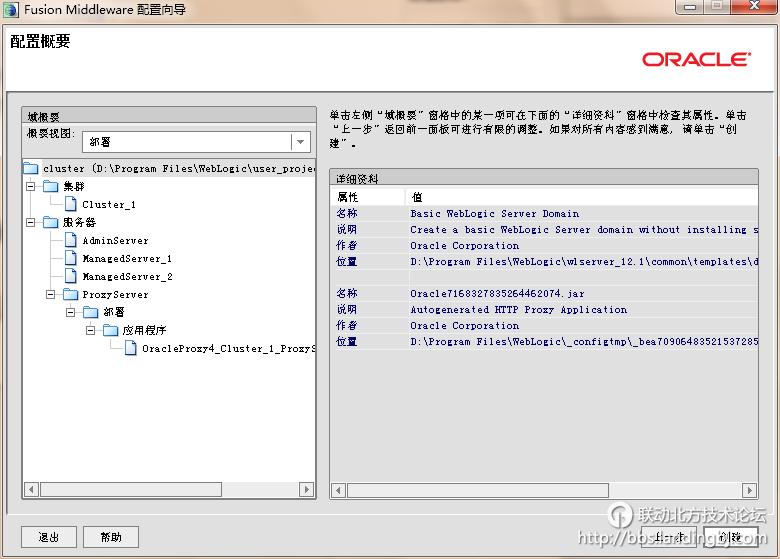
13)确认配置信息后,点击”创建“
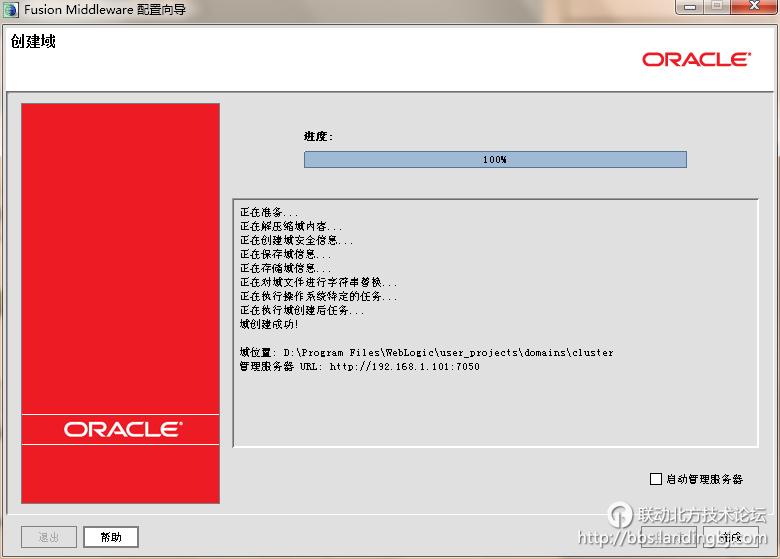
14)集群环境搭建成功。
启动搭建的环境:
我们可以像以前一样使用开始菜单去启动,也可以使用命令行启动。这里使用命令行启动:
① 启动管理服务器
打开cmd,进入到D:\Program Files\WebLogic\user_projects\domains\cluster\bin 执行startWeblogic.cmd
D:\Program Files\WebLogic\user_projects\domains\cluster\bin>startWebLogic.cmd
输入之前配置的用户名和密码
我们可以在WebLogic\user_projects\domains\cluster\servers\AdminServer 目录下,建立文件 security\boot.properties 在里面输入
username=weblogic
password=weblogic12
下次启动时,则不需要输入用户名和密码了
②启动代理服务器
执行 start startManagedWebLogic.cmd 受管服务器名 管理服务器URL
如 start startManagedWebLogic.cmd ProxyServer http://192.168.1.101:7050
其他同上
则可以启动集群了。
该贴由hui.chen转至本版2014-11-11 15:00:39
 发起投票
发起投票

 技术讨论
技术讨论


 加好友
加好友 发消息
发消息 2014-10-27 18:21:48 |
 赞(
赞( 操作
操作


