Install the Database Software and Create an ASM Instance
Start the RAC1 and RAC2 virtual machines, login to RAC1 as the oracle user and start the Oracle installer.
./runInstaller
On the "Welcome" screen, click the "Next" button.

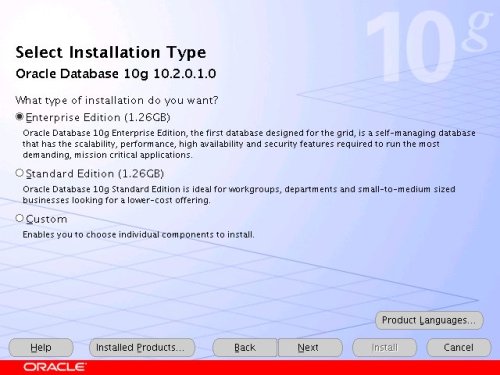
Select the "Enterprise Edition" option and click the "Next" button.
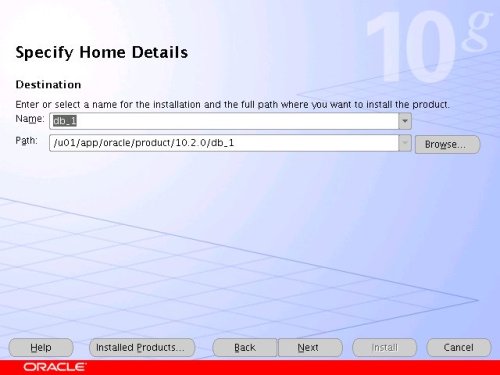
Enter the name and path for the Oracle Home and click the "Next" button.
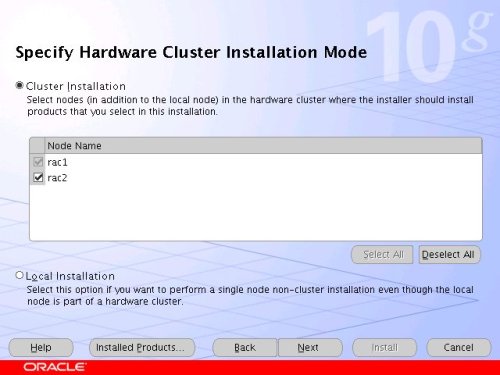
Select the "Cluster Install" option and make sure both RAC nodes are selected, the click the "Next" button.
Wait while the prerequisite checks are done. If you have any failures correct them and retry the tests before clicking the "Next" button.
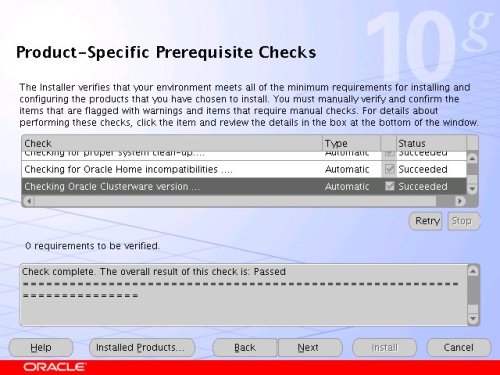
You can choose to ignore the warnings from the prerequisite checks and click the "Next" button. If you do, you will also need to ignore the subsequent warning message by clicking the "Yes" button.

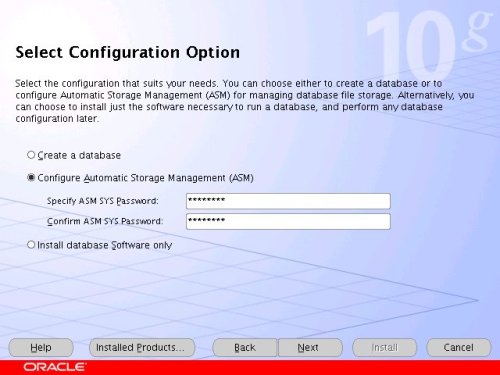
Select the "Configure Automatic Storage Management (ASM)" option, enter the SYS password for the ASM instance, then click the "Next" button.
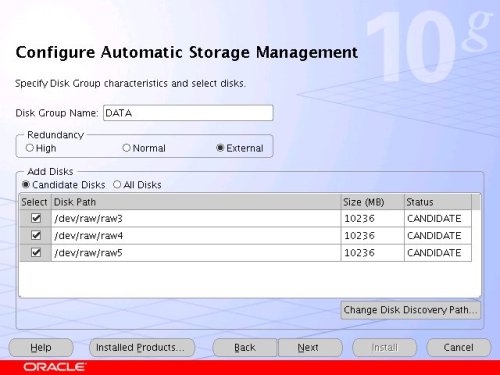
Select the "External" redundancy option (no mirroring), select all three raw disks (raw3, raw4 and raw5), then click the "Next" button.
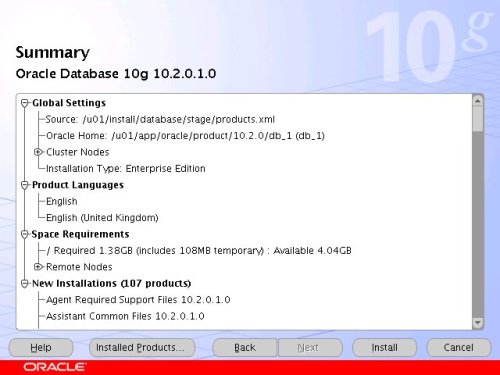
On the "Summary" screen, click the "Install" button to continue.
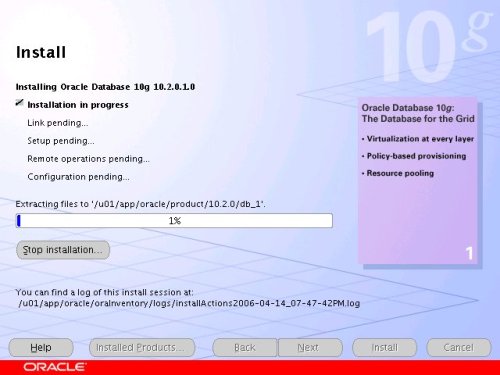
Wait while the database software installs.
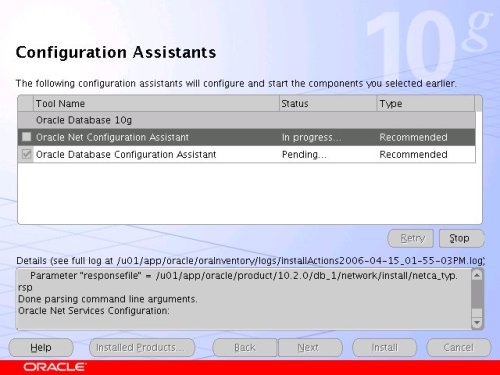
Once the installation is complete, wait while the configuration assistants run.
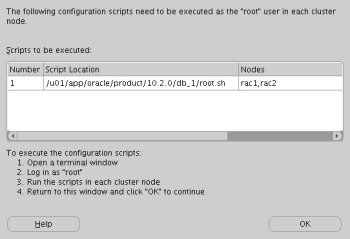
Execute the "root.sh" scripts on both nodes, as instructed on the "Execute Configuration scripts" screen, then click the "OK" button.
When the installation is complete, click the "Exit" button to leave the installer.
It's a good idea to take a snapshot of the virtual machines, so you can repeat the following stages if you run into any problems. To do this, shutdown both virtual machines and issue the following commands.
# cd /u01/VM
# tar -cvf RAC-PostASM.tar RAC1 RAC2 shared
# gzip RAC-PostASM.tar
The database software installation and ASM creation step is now complete.
Create a Database using the DBCA
Start the RAC1 and RAC2 virtual machines, login to RAC1 as the oracle user and start the Database Configuration Assistant.
dbca
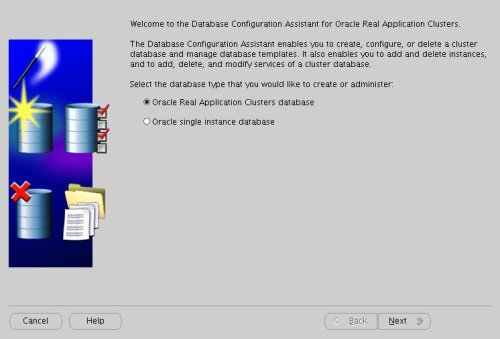
On the "Welcome" screen, select the "Oracle Real Application Clusters database" option and click the "Next" button.
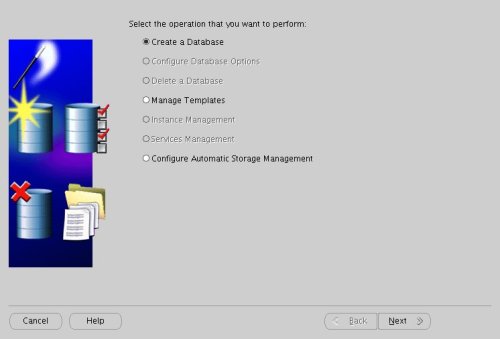
Select the "Create a Database" option and click the "Next" button.
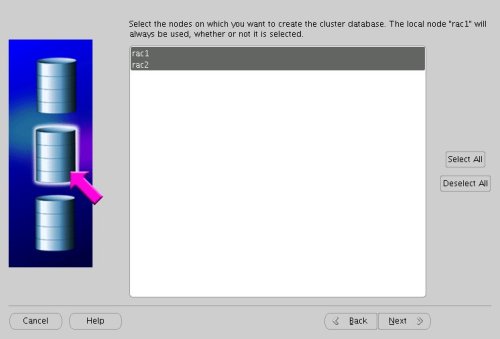
Highlight both RAC nodes and click the "Next" button.
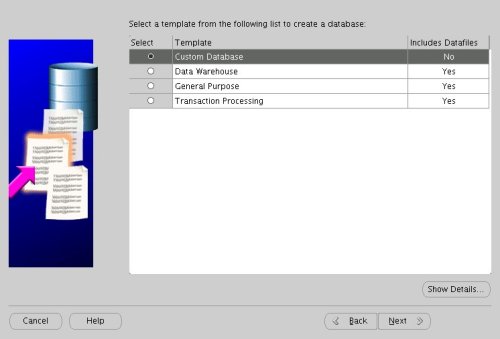
Select the "Custom Database" option and click the "Next" button.
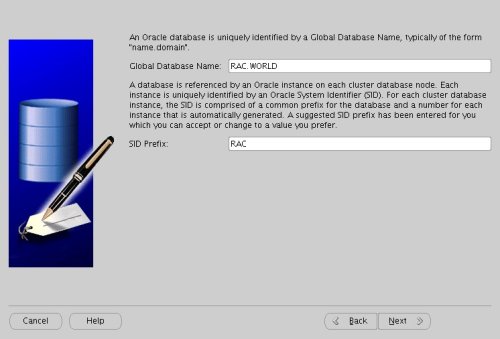
Enter the values "RAC.WORLD" and "RAC" for the Global Database Name and SID Prefix respectively, then click the "Next" button.
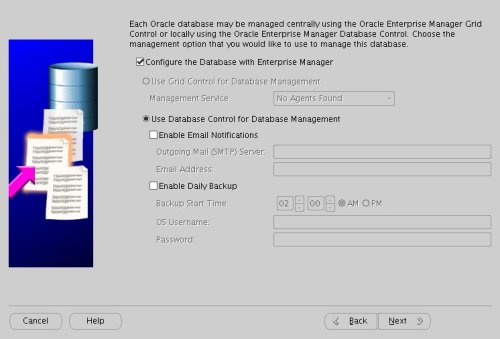
Accept the management options by clicking the "Next" button. If you are attempting the installation on a server with limited memory, you may prefer not to configure Enterprise Manager at this time.
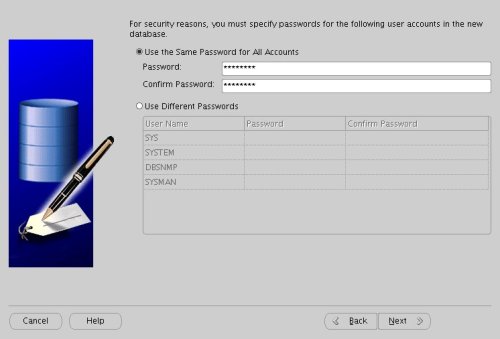
Enter database passwords then click the "Next" button.
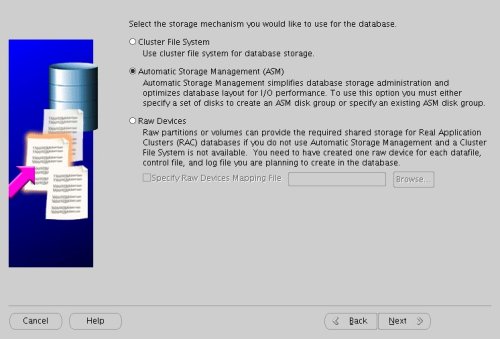
Select the "Automatic Storage Management (ASM)" option, then click the "Next" button.
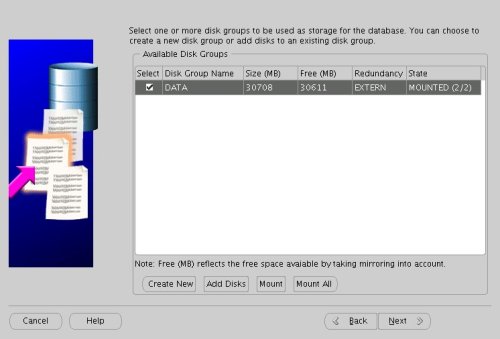
Select the "DATA" disk group, then click the "Next" button.
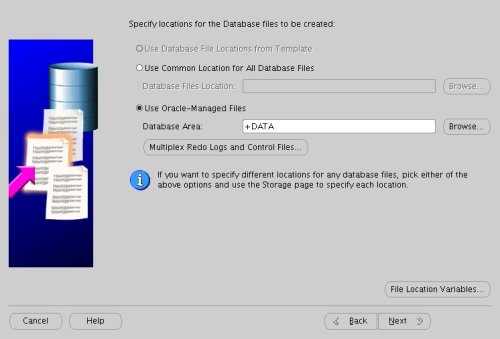
Accept the "Use Oracle-Managed Files" database location by the "Next" button.
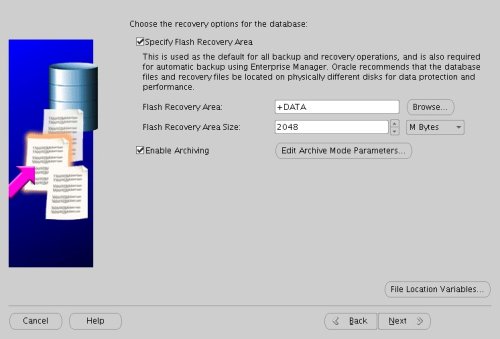
Check both the "Specify Flash Recovery Area" and "Enable Archiving" options. Enter "+DATA" as the Flash Recovery Area, then click the "Next" button.
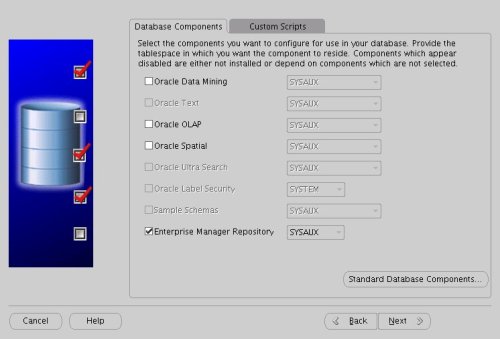
Uncheck all but the "Enterprise Manager Repository" option, then click the "Standard Database Components..." button.
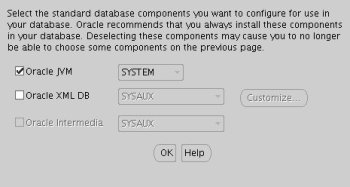
Uncheck all but the "Oracle JVM" option, then click the "OK" button, followed by the "Next" button on the previous screen. If you are attempting the installation on a server with limited memory, you may prefer not to install the JVM at this time.
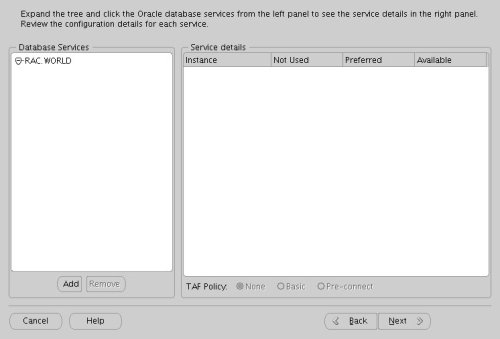
Accept the current database services configuration by clicking the "Next" button.
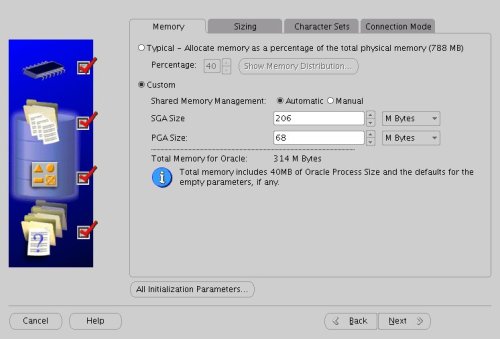
Select the "Custom" memory management option and accept the default settings by clicking the "Next" button.
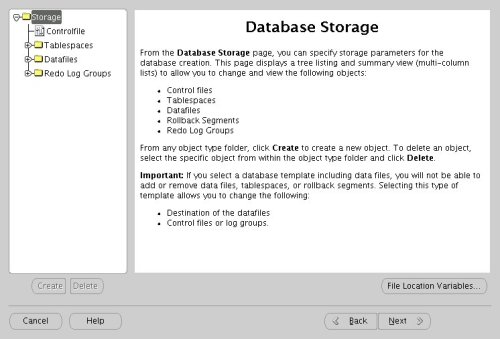
Accept the database storage settings by clicking the "Next" button.
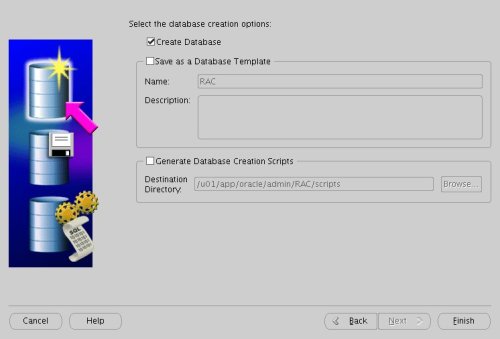
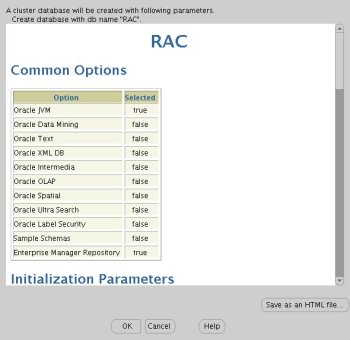
Accept the database creation options by clicking the "Finish" button.
Accept the summary information by clicking the "OK" button.
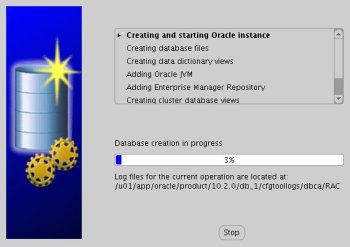
Wait while the database is created.
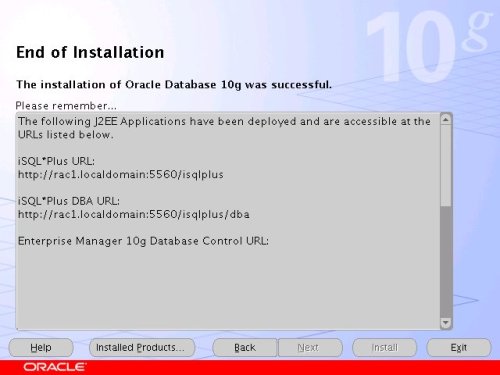
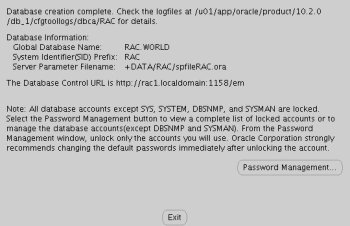
Once the database creation is complete you are presented with the following screen. Make a note of the information on the screen and click the "Exit" button.
The RAC database creation is now complete.
TNS Configuration
Once the installation is complete, the "$ORACLE_HOME/network/admin/listener.ora" file on each RAC node will contain entries similar to the following.
LISTENER_RAC1 =
(DESCRIPTION_LIST =
(DESCRIPTION =
(ADDRESS = (PROTOCOL = IPC)(KEY = EXTPROC1))
(ADDRESS = (PROTOCOL = TCP)(HOST = rac1-vip.localdomain)(PORT = 1521)(IP = FIRST))
(ADDRESS = (PROTOCOL = TCP)(HOST = 192.168.2.101)(PORT = 1521)(IP = FIRST))
)
)
SID_LIST_LISTENER_RAC1 =
(SID_LIST =
(SID_DESC =
(SID_NAME = PLSExtProc)
(ORACLE_HOME = /u01/app/oracle/product/10.2.0/db_1)
(PROGRAM = extproc)
)
)
The "$ORACLE_HOME/network/admin/tnsnames.ora" file on each RAC node will contain entries similar to the following.
RAC =
(DESCRIPTION =
(ADDRESS = (PROTOCOL = TCP)(HOST = rac1-vip.localdomain)(PORT = 1521))
(ADDRESS = (PROTOCOL = TCP)(HOST = rac2-vip.localdomain)(PORT = 1521))
(LOAD_BALANCE = yes)
(CONNECT_DATA =
(SERVER = DEDICATED)
(SERVICE_NAME = RAC.WORLD)
)
)
LISTENERS_RAC =
(ADDRESS_LIST =
(ADDRESS = (PROTOCOL = TCP)(HOST = rac1-vip.localdomain)(PORT = 1521))
(ADDRESS = (PROTOCOL = TCP)(HOST = rac2-vip.localdomain)(PORT = 1521))
)
RAC2 =
(DESCRIPTION =
(ADDRESS = (PROTOCOL = TCP)(HOST = rac2-vip.localdomain)(PORT = 1521))
(CONNECT_DATA =
(SERVER = DEDICATED)
(SERVICE_NAME = RAC.WORLD)
(INSTANCE_NAME = RAC2)
)
)
RAC1 =
(DESCRIPTION =
(ADDRESS = (PROTOCOL = TCP)(HOST = rac1-vip.localdomain)(PORT = 1521))
(CONNECT_DATA =
(SERVER = DEDICATED)
(SERVICE_NAME = RAC.WORLD)
(INSTANCE_NAME = RAC1)
)
)
This configuration allows direct connections to specific instance, or using a load balanced connection to the main service.
$ sqlplus / as sysdba
SQL*Plus: Release 10.2.0.1.0 - Production on Tue Apr 18 12:27:11 2006
Copyright (c) 1982, 2005, Oracle. All rights reserved.
Connected to:
Oracle Database 10g Enterprise Edition Release 10.2.0.1.0 - Production
With the Partitioning, Real Application Clusters, OLAP and Data Mining options
SQL> CONN sys/password@rac1 AS SYSDBA
Connected.
SQL> SELECT instance_name, host_name FROM v$instance;
INSTANCE_NAME HOST_NAME
---------------- ----------------------------------------------------------------
RAC1 rac1.localdomain
SQL> CONN sys/password@rac2 AS SYSDBA
Connected.
SQL> SELECT instance_name, host_name FROM v$instance;
INSTANCE_NAME HOST_NAME
---------------- ----------------------------------------------------------------
RAC2 rac2.localdomain
SQL> CONN sys/password@rac AS SYSDBA
Connected.
SQL> SELECT instance_name, host_name FROM v$instance;
INSTANCE_NAME HOST_NAME
---------------- ----------------------------------------------------------------
RAC1 rac1.localdomain
SQL>
Check the Status of the RAC
There are several ways to check the status of the RAC. The srvctl utility shows the current configuration and status of the RAC database.
$ srvctl config database -d RAC
rac1 RAC1 /u01/app/oracle/product/10.2.0/db_1
rac2 RAC2 /u01/app/oracle/product/10.2.0/db_1
$
$ srvctl status database -d RAC
Instance RAC1 is running on node rac1
Instance RAC2 is running on node rac2
$
The V$ACTIVE_INSTANCES view can also display the current status of the instances.
$ sqlplus / as sysdba
SQL*Plus: Release 10.2.0.1.0 - Production on Tue Apr 18 12:15:15 2006
Copyright (c) 1982, 2005, Oracle. All rights reserved.
Connected to:
Oracle Database 10g Enterprise Edition Release 10.2.0.1.0 - Production
With the Partitioning, Real Application Clusters, OLAP and Data Mining options
SQL> SELECT * FROM v$active_instances;
INST_NUMBER INST_NAME
----------- ------------------------------------------------------------
1 rac1.localdomain:RAC1
2 rac2.localdomain:RAC2
 发起投票
发起投票

 技术讨论
技术讨论


 加好友
加好友 发消息
发消息 2011-8-1 11:02:43 |
 赞(
赞( 操作
操作